Productivity Hacks
Productivity Hacks

How to Add Captions to Video (Add Subtitles With One Simple Tool)
Updated on:

How to Add Captions to Video (Add Subtitles With One Simple Tool)
Article Breakdown

Creating quality video content or presentations requires a lot more than a camera and a tripod. You need to have a design plan in mind before the cameras start rolling. However, the most important factor is your viewer.

People who watch your video want to understand and learn from the content. In most cases, captions or subtitles can make this possible. Fortunately, Otter.ai allows you to add captions to video content with one simple tool.

Captions vs. Subtitles
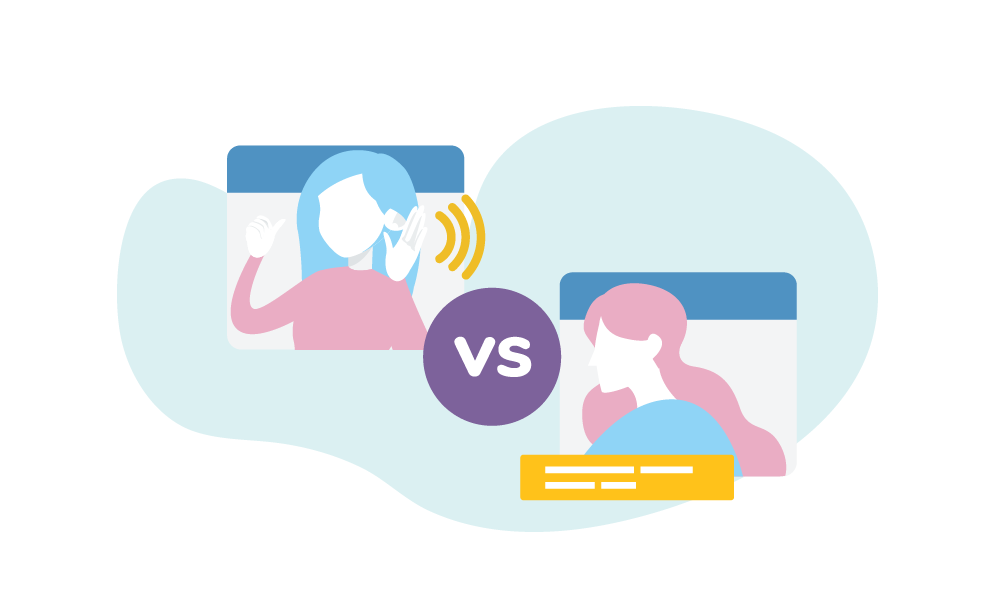
Though many people use the terms interchangeably, “captions” (also known as “closed captions” or “closed captioning”) and “subtitles” are two very different things. Captions provide a word-for-word text transcription of the spoken words in a video or audio file. Whether you’re watching a movie on TV or viewing a live-streamed video, captions appear (usually at the bottom of the screen) to provide a text version of everything that is said.

Subtitles serve the same function but in a different way. While captions provide visual transcriptions in the same language as the original content, subtitles translate the words into a different language. For example, if you’re watching a video in which one or more people are speaking English and you want to read the video transcription as you watch, you would need to add “captions.”

Alternatively, if you’re watching a video in which people are speaking in Japanese and you want to have the words translated and transcribed in English, the resulting transcription would be considered “subtitles.”

Why Do Videos Need Captions or Subtitles?

Video captioning is not just about accessibility (although this is a factor). There are a number of reasons to add subtitles to a video or caption your video.

Poor Audio

Sometimes, you just don’t have the right audio quality for your viewers to hear and understand every word. Perhaps you’re conducting a conference and the camera or recording device is too far away to pick up the sound. In any case, captions ensure that your video doesn’t lose value due to poor audio.

Complex Content

Your video may include content that is difficult to understand for a variety of reasons. Maybe one or more people are speaking quickly, using technical jargon, or covering complex issues. Captions can help viewers understand content that they may not be able to digest with video and audio alone. Subtitles can also help non-native speakers make sense of content in another language.

Transcriptions for the Hearing Impaired

Assisting the hearing impaired is one of the primary functions of closed captioning software. If your video does not have captions or subtitles, you’re making it either difficult or impossible for hearing-impaired viewers to understand your content. Thus, captions and subtitles ensure that a larger audience can consume your content.

Better Presentations

Captions and subtitles simply make video and audio content more professional. If you’re giving a live presentation that requires video content, you could improve the overall experience by transcribing what’s being said. Captions also reduce the risk of audience members asking you to replay sections of the video that they missed.

Easier Note Taking

During a presentation or live video stream, it can be difficult for viewers to take diligent notes without missing key elements. The same applies to recorded videos. If viewers can see and hear the words as they’re spoken, it makes it easier to jot down important notes for later.

More Options for Viewers

At the end of the day, some people just prefer to view content differently than others. Some people absorb new information by listening, others by reading, and others by a combination of both. Captions and subtitles provide more options for all viewers, regardless of their native language.

How to Add Captions to Video Content with One Simple Tool

If you want to add accurate transcriptions to both live and recorded videos, there’s only one tool you need: Otter.ai. Otter.ai provides transcription solutions for teams and individuals, making it a versatile platform to meet a wide variety of needs.

Most captioning software does the bare minimum to provide transcribed text. Poor transcriptions are a waste of time and money. If you choose free captioning software or a company that uses poor transcription tech, you’ll have to spend the time and effort to correct the transcriptions. If you’re conducting a live presentation, you’ll just have to deal with poorly-transcribed videos.

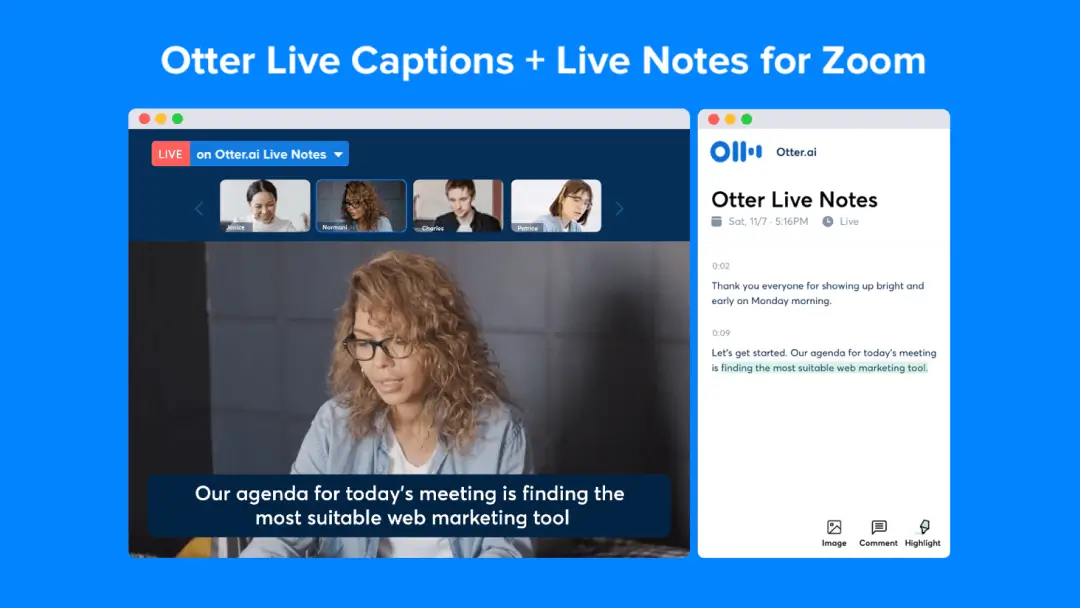
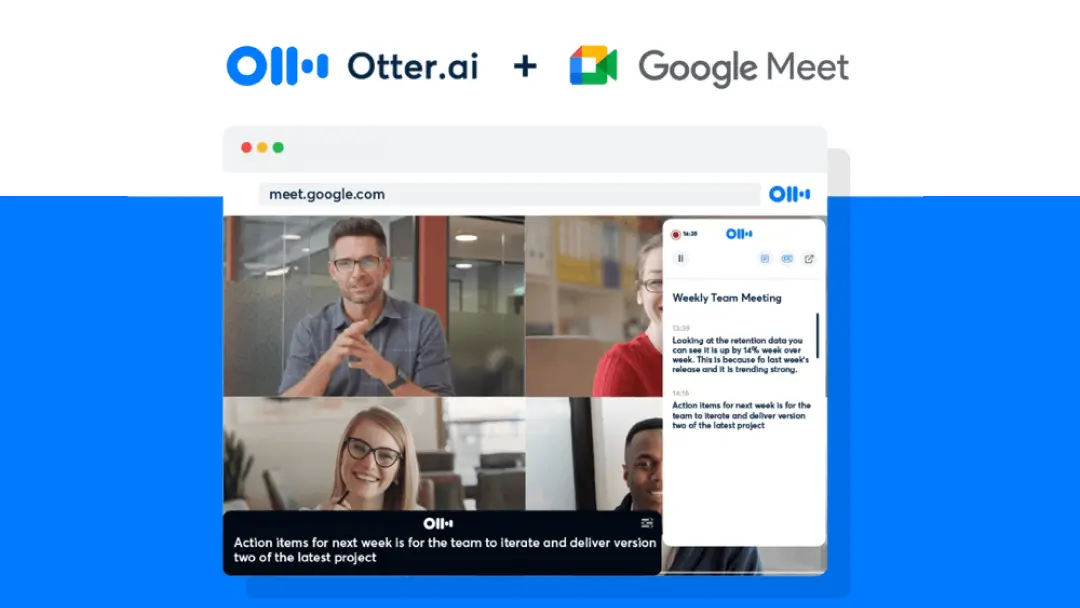
With Otter.ai, you simply integrate your existing video recording software with the Otter.ai platform. Once you’re ready to go, Otter.ai takes care of the rest. You can stream a live video or presentation with accurate captions.

The same applies to pre-recorded videos. Simply upload your video to Otter.ai and let the software work its magic. You don’t need to worry about the complicated processes that come with other captioning services.

Add Captions to Videos with Otter.ai

Otter.ai does things a little differently than most other captioning software companies. So, let’s look at a few of the advantages of captioning videos with Otter.ai:

  • Accurate Transcriptions - If you’ve ever tried to use free, automated caption makers, you know that the resulting transcription is riddled with errors. Even if you pay for the service, you might end up with captions that don’t even make sense. Otter.ai stands out by using in-house software that provides accurate transcriptions every time. Even if your video contains background noise, multiple speakers, or just poor sound quality, Otter.ai’s system can analyze the audio and transcribe all of the spoken words accurately.
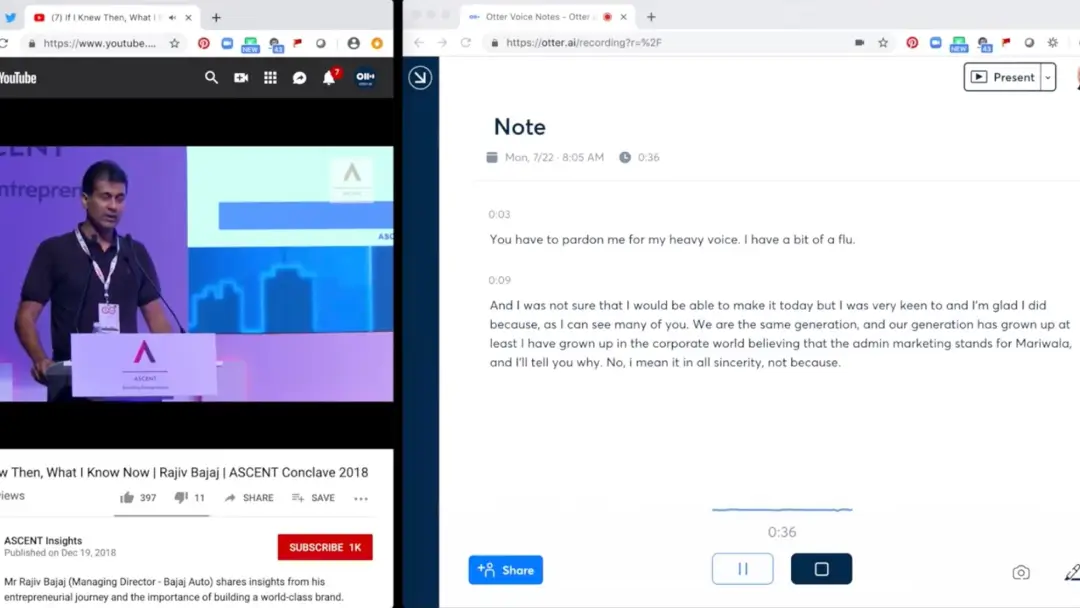
  • Caption Live Video or Audio - Most captioning software provides captions after the fact. In other words, you need to record a video, upload it to the software, and then wait for the software to analyze the audio and produce captions. With Otter.ai, you don’t have to wait. You get instant captions on live recordings. Not only does this save you time, but it also enhances live events like business meetings and presentations.
  • Keyword Search - So, you’ve captioned a video or audio file with Otter.ai, but you want to go back and edit or research a particular point in the file. You can remember what the speaker was talking about, but you can’t remember when they said it. Rather than wading through hours of footage or audio, Otter.ai gives you the ability to search using keywords, taking you directly to the moment you want to focus on.
  • All-In-One Project Management Tool - Otter.ai doesn’t just provide accurate transcriptions. It also provides a platform in which you can work, schedule meetings, communicate with team members, edit content, and conduct research. In short, Otter.ai is the ultimate tool to see any project from start to finish.

The Step-by-Step Process of Adding Captions to Video
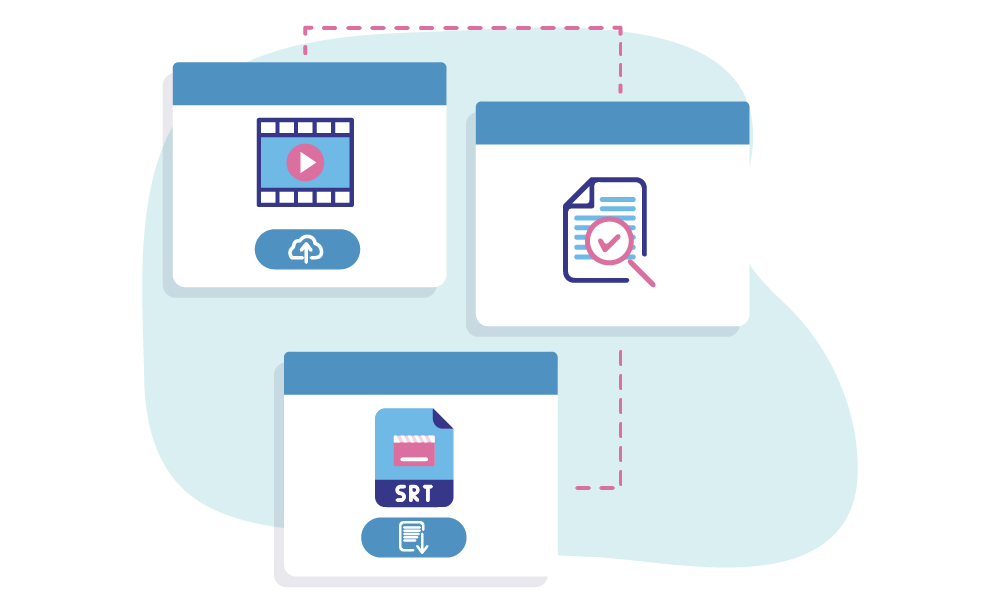
Adding captions with Otter.ai just requires three simple steps:

  1. Import your video - Otter.ai is compatible with all of the most common video formats, including MP4, AVI, MOV, WMV, and MPG files. Simply click on the gray “Import Audio/Video” button in the Otter.ai app. This will bring up available files to choose from. Once the video has been imported, it will be added to the “My Conversations” tab or the specific Group or Folder in which you began the import process.
  2. Review the transcript - As soon as you’ve imported the file, you can view the text transcript and make changes as needed. To edit, select the conversation and click the “Edit” button. Then, click on the pencil icon to make changes. Finally, just click “Done” when you’re finished.
  3. Export your SRT file - Select the three dots at the top-right corner of your screen. Then, select “Export Text.” You can then choose “SRT” as the file type. At this point, you have the option of including the speakers’ names in the captions. Once you click “Continue,” your SRT file will automatically download to your device.

Alternative Auto-captioning and Subtitle Methods

You might not be convinced that Otter.ai is the right fit for your needs. Maybe you want to try some of the free captioning software that’s readily available. Let’s take a look at a few of the free captioning and subtitling platforms on the market:

  • Youtube Automatic Captions - If you’ve ever uploaded a video to Youtube, you probably know that you can turn on “auto-captions.” You can also give viewers the option to have a Youtube video subtitled into multiple foreign languages. However, this free service is not always 100% accurate. On average, you can expect 85-90% accuracy with Youtube’s captioning services, assuming that the audio is clear. You will probably need to spend countless hours with Youtube’s clunky caption editor to fix these errors.
  • Google Translate - Google Translate gives you the ability to play audio to get a transcription or translation. However, Google Translate is inefficient to use, as you can only transcribe or translate small chunks of content at a time. Moreover, you will have to manually input the results into a video using separate editing software.
  • Facebook Captioning - If you want to upload your video to social media, Facebook does give you the option to have the content automatically captioned. However, much like Youtube, the results are not 100% accurate. You will have to spend extra time editing your captions with Facebook videos. Additionally, Facebook and other social networks often degrade the quality of the video during the process.
  • Vimeo Captions & Subtitles - Like Youtube, Vimeo offers automated captioning and subtitling services. However, the accuracy of the captions is mediocre at best. Unfortunately, the subtitles are even worse. Vimeo uses software similar to Google Translate, which means that a lot of your content will get lost in translation (literally).
  • Movie Maker or iMovie - Movie Maker (for Windows) and iMovie (for Apple) are two video editors that offer auto-captioning features. Movie Maker also offers subtitles in a select number of languages. However, while both platforms make it pretty easy to add closed captions to video content, they don’t offer accuracy. You can expect to spend additional time correcting mistakes from the automatic transcription in either platform.

Add Captions to Any Video File With Otter.ai

Adding captions or subtitles to videos doesn’t need to be a pain. Rather than working with inaccurate transcriptions or spending time transcribing your content manually, you can just rely on Otter.ai. With Otter.ai, you get accurate video captions in a platform that integrates with dozens of translation services to provide both captions and subtitles for your videos.

Do you need help figuring out how to add captions to videos? Do you want to get your content in front of a wider audience with translated subtitles? Finally, do you want an all-in-one transcription and project management platform? If so, contact Otter.ai today for more information!

Get started with Otter today.

You Might Be Interested In