A Guide to Writing Interview Transcripts: Styles, Workflow, and Template


You just wrapped 14 interviews in two weeks, and your editor wants quote-ready material in two days. Typing them out would take 3 to 6 hours per hour of audio. While an AI notetaker can generate a rough draft in minutes, that draft often shows up with messy speaker labels, too many mistakes, and quotes you can't safely publish without double-checking.
Turning that rough draft into something usable comes down to picking the right style for your organization and following a clear editing process. This guide walks you through both, plus a reusable template and the permissions and citation rules that go with it.
The Short on Time Version
- Pick a style before you start: Choose verbatim, intelligent verbatim, or edited based on what you'll do with the quotes.
- Match the style to the job: Verbatim fits conversation analysis and legal records, intelligent verbatim fits journalism and qualitative research, and edited fits internal summaries.
- Run the six-step workflow: Record with permission, draft with an AI notetaker, add speaker labels and timestamps, edit to your style, check quotes against the audio, then store the transcript with the source recording.
- Handle consent, citation, and storage upfront: Capture permission before the interview starts, follow your field's quote-approval rules, and store transcripts with clear access and retention controls.
What Is an Interview Transcript?
An interview transcript is a written record of a spoken interview used for analysis, citation, and reference that includes speaker attribution and timestamps.. It shows who said what, marks when they said it, and formats the exchange so a reader can follow the conversation without listening to the original recording.
Every transcript involves choices about what to keep and what to leave out, and those choices shape the record you end up analyzing. A usable transcript usually includes four parts:
- Speaker labels at each turn (initials or role tags like I: and P:)
- Timestamps at set intervals or at each speaker change
- Header metadata showing the participant, interviewer, date, and consent status
- Steady tags for inaudible passages, non-verbal cues, and overlapping speech
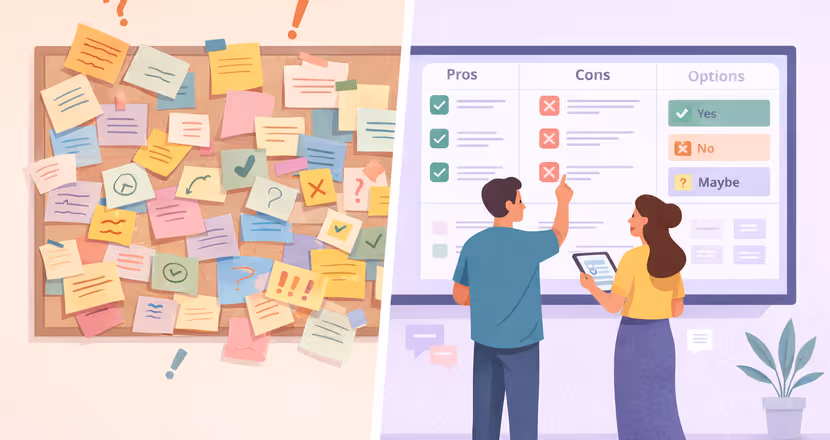
What Are the Styles of Interview Transcripts?
The bigger decision after structure is how much of the original speech to keep. Transcript style is an essential decision, and there is no single best or 'most accurate' style of transcription. Here are three styles that work for most organizations:
- Verbatim: Keeps everything, including filler words ("um," "uh"), false starts, overlapping speech, pauses, and non-verbal sounds. Nothing is removed or reworded. Best for conversation analysis, discourse research, and legal proceedings, where how something is said carries analytical weight.
- Intelligent Verbatim: Also called clean verbatim, this style removes fillers, repetitions, and false starts while keeping all meaningful content and non-verbal cues that convey meaning. Best for journalism and most qualitative research, since journalists don't change quotations.
- Edited: This removes fillers and repetitions and may fix grammar or reshape sentences for clarity. Meaning is kept, but phrasing may change. Best for UX synthesis, published reports, and internal summaries where readers need to move fast.
Pick the style that matches the analytical question, then apply it consistently across every interview. With that decision made, the next question is how to actually make the transcript, step by step.
How to Write an Interview Transcript Step by Step
Once you know which style fits the project, the next question is how to make it. To write an interview transcript, you record with permission, create a first draft using an AI notetaker, add speaker labels and timestamps, edit to your chosen style, check quotes against the recording, and store the transcript with the source audio.
Step 1: Record the Interview With Permission and Clear Audio
Everything downstream depends on the quality of the recording. Poor audio quality is a known source of transcription errors.
Step 2: Make the Initial Transcript Using AI
With a clean recording in hand, the fastest way to a first draft is an AI notetaker. It can make a first draft in minutes rather than hours per audio hour that manual transcription takes. Note that human review is needed to ensure no errors pass through.
Step 3: Add Speaker Labels and Timestamps
That draft becomes usable only once readers can tell who said what and when. Use initials plus a colon (e.g., SJ: for Sarah Johnson) or role labels (I: for interviewer, P: for participant) for speaker labels, and add timestamps every 5 to 10 minutes, or at the start of each speaker's response.
Step 4: Choose the Transcript Style and Edit Accordingly
Once labels and timestamps are in place, apply your chosen style consistently across every interview.
Step 5: Check Quotes Against the Original Recording
Editing alone doesn't catch every AI mistake, so any passage you plan to use needs a final pass against the audio. Play back the relevant section, and check for AI errors that change meaning, swapped speaker labels, and dropped words.
Step 6: Store the Transcript Alongside the Recording for Citation
A checked transcript is only as useful as your ability to find it again, so store transcripts with the related records and submission materials used in human-subjects work.
Those six steps cover the workflow at a general level, but each AI notetaker handles capture and cleanup a little differently.
How to Transcribe an Interview With Otter.ai
To transcribe an interview with a tool like Otter.ai, follow the three steps below:
1. Launch Otter
Sign in at Otter.ai or open the app. From your dashboard, start a new recording or import an existing audio or video file.
2. Record the Interview
For in-person interviews, tap record and place your device near the participants. For remote interviews, connect Otter to the calls you choose on Zoom, Google Meet, or Microsoft Teams. The transcript shows up on screen in real time, so you can look back at earlier parts of the conversation as you go.
3. Review the Transcript
Otter identifies speakers, adds timestamps, and breaks the transcript into paragraphs as the conversation happens. When the interview ends, the final version is ready in seconds for review, editing, highlighting, or sharing.
Missed recording live? Upload prerecorded interviews from your dashboard, and Otter will process them the same way. That's the capture and cleanup layer. The next step is to choose a style and use it consistently, as the template and governance sections below walk through.
An Interview Transcript Template You Can Use
To make those six steps easier to apply, the template below consolidates the structural parts into a single format. Save in .docx or .txt format.
Header Metadata
The header is what makes a transcript citable and traceable later:
1. Project ID: [Your project identifier]
2. Participant ID or Pseudonym: [Anonymized identifier]
3. Interviewer: [Name and affiliation]
4. Date of Interview: [YYYY-MM-DD]
5. Location: [In-person location or "Remote, Zoom"]
6. Transcript Style: [Verbatim / Intelligent Verbatim / Edited]
7. Consent: [Verbal consent recorded at 00:00 / Written consent on file]
8. Speaker Key: I = Interviewer, P1 = Participant
Body Format
Below the header, the body should follow a steady pattern so a reader can scan it quickly:
[00:00] I: Before we begin, can you confirm that you've reviewed and agreed to the consent form?
[00:08] P1: Yes, I signed it before we started.
[00:12] I: Could you describe your experience with the onboarding process?
[00:16] P1: It was mostly smooth. The first week felt overwhelming because there was so much information, but by week three I felt comfortable.
Standard Tags
Recordings rarely come through cleanly all the way through, so the template also needs a shared set of tags for the moments that don't. Use these tags the same way across all transcripts in a project:
How to Handle Permission, Quotes, and Citation
A template only works if the recording, transcript, and quotes are handled responsibly. That means documenting permission to record before the interview, following your field's quote-approval rules, and storing transcripts under set retention and access controls.
Permission should explain how recordings and transcripts will be stored, shared, and kept, whether they will be anonymized or publicly accessible, and what participant withdrawal rights look like. After the interview, the next question is what participants and editors can do with the quotes.
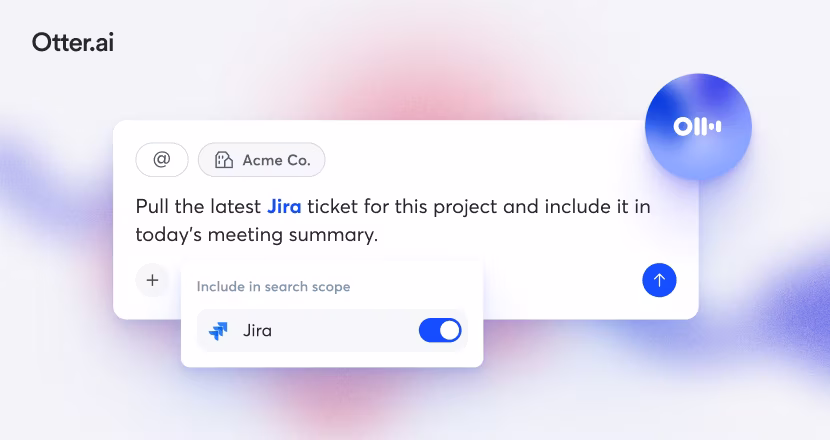
How Otter Turns the Interview Recording Into a Usable Transcript
Not just an AI notetaker, Otter is a Conversational Intelligence Platform that records conversations and turns them into summaries, action items, and speaker-attributed transcripts you can search and review later. It reaches 95%+ accuracy in clear audio, supports both live recording and uploaded files, and spots and labels each speaker individually, so you don't have to listen back and tag every person. Exports keep timestamps and speaker labels, matching the formatting rules outlined in this guide.
Most interviews involve more than one transcript, and Otter AI Chat lets you search the full library by keyword or question. Ask "What did participants say about onboarding?" and get relevant quotes pulled from across every interview. For example, David Boyle of Audience Strategies used Otter to run and analyze 76 in-depth interviews, calling the fit with his analysis workflow "the difference between possible and impossible at this scale."
Schedule a demo to see how Otter fits in your next interview.
Frequently Asked Questions About Writing an Interview Transcript
How Long Does It Take to Transcribe a One-Hour Interview?
Manual transcription takes hours of audio. An AI notetaker makes a first draft in minutes, with human editing adding more time.
What Is the Difference Between Verbatim and Intelligent Verbatim?
Verbatim keeps every word, filler, and non-verbal sound, while intelligent verbatim removes fillers and repetitions while keeping all meaningful content.
How Do You Cite an Interview Transcript?
Include the interviewer's name, participant ID or pseudonym, date, and location in your header, and follow APA, Chicago, or your field's citation format.
What Is the Format for an Interview Transcript?
A standard format includes header metadata, speaker labels at each turn, timestamps at set intervals, and steady tags for inaudible passages or non-verbal cues.
Related posts