How to Video Conference From Home: Best Practices for Effective Online Meetings

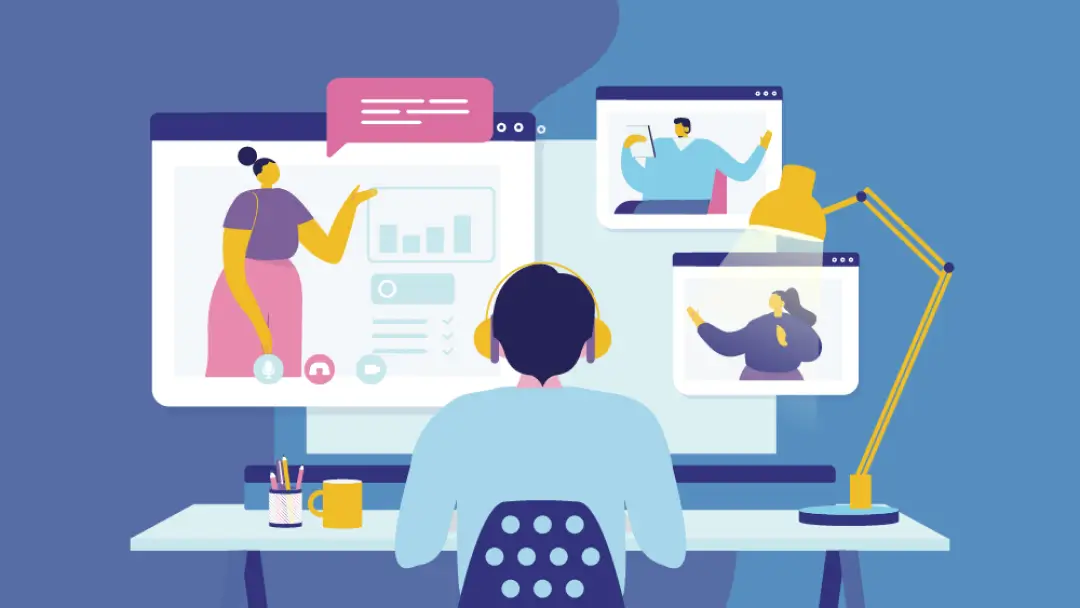


The global lockdown has accelerated the trend toward working remotely, and it seems that now it’s here to stay. This transition brings with it new challenges, one being how to video conference professionally.
As many new telecommuters have already quickly discovered, home video conferencing comes with its own unique set of rules, and there are plenty of issues that can derail your meeting—technical difficulties, audio problems, virtual etiquette pitfalls… The list goes on.
Below, you will learn about many of the difficulties you may face and how to avoid them.
7 Essential Video Conferencing Tips
1. Send Invitations & Choose the Software
If you're the host, be sure to send invitations to all participants well ahead of time. In your invitation email, let them know the date and time of the video conference, and instruct them clearly on how to join the event. It’s also good practice to share a list of the main topics that will be covered and ensure the participants that they will receive meeting notes and a summary from you after the meeting.
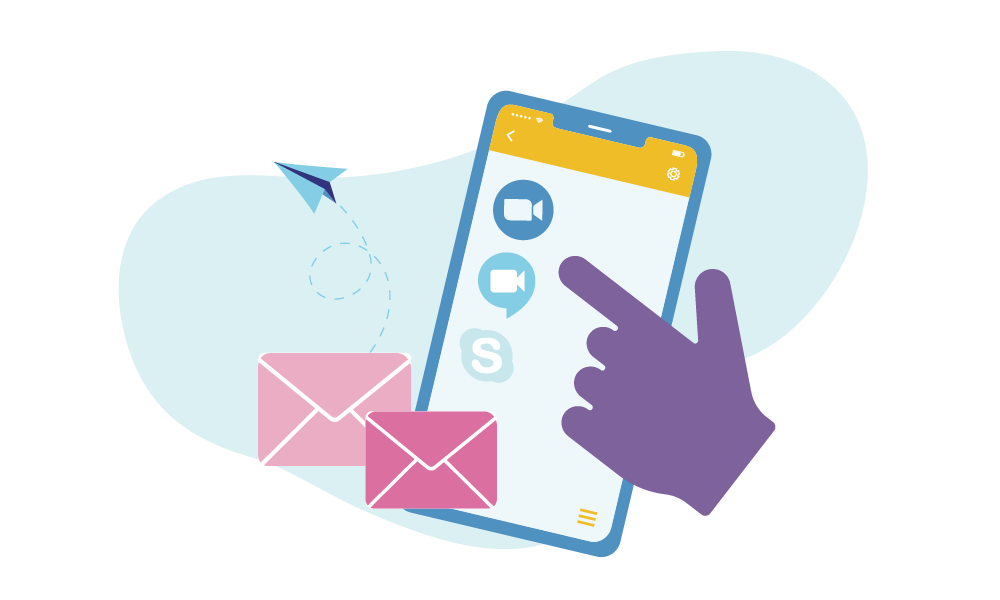
You may also need to choose the video conferencing software for your event. In that case, it's important to consider which features will be crucial for your specific case, as well as what the preferences (and limitations) of other meeting participants are. Make sure you have everyone on board with your choice of software. If you don’t know where to start your research, some of the most widely used home video conferencing apps are:
1. Zoom
Pros:
- One-on-one meetings are unlimited and free
- Easy to use and intuitive
- All participants can join without downloading the app (except the host)
Cons:
- 40-minute limit on meetings of more than two participants for the free plan
- With the new security enhancement features, the participant experience is complicated
2. Google Meet
Pros:
- Free with no time limits on meetings
- Strong safety measures for privacy and security
Cons:
- Each participant will need to have a Google account to join
- Can only be used via the Google Chrome browser
3. Skype
Pros:
- Free for up to 50 people with unlimited meeting time
- Extra free features (such as blurring the background) available to those who download the app
Cons:
- The program is very network intensive. Fast network connections will be necessary for all participants for a flawless group video call
These are the three most well-known and widely used video conference apps that are likely to meet most people’s criteria. Other apps that offer similar home video conferencing features include Discord, Zoho Meeting, GoToMeeting, Whereby, and Spike.
2. Check Your Tech
Different video conferencing apps require different bandwidths to provide flawless video calls. Video conferencing services like Skype, Google Hangouts, and Microsoft Teams, for instance, suggest between 1–1.25 Mbps to upload and 2–8 Mbps to download a group call with an average of 3–7 people in attendance. Zoom uses 1.2 Mbps for both uploads and downloads for a group call.
To reduce the chances of playbacks and stalling video during your call, make sure you have the bandwidth required to use your program of choice. You can use any free online resource (like Speedtest) to test your connection speeds.
If your network connection is slower than recommended, try relocating around the house or get closer to your router. Sometimes other devices or Wi-Fi networks can cause interference. You can also try switching between your router frequencies. 2.4 GHz provides better reception over long distances, but nearby routers and other devices use the same frequency and interfere with your connectivity. 5 GHz is usually faster but has a shorter range. Depending on how much interference you’re experiencing, you may have a better connection with this frequency.
Remember that anything you're running that uses up processing power can slow down your conferencing app. Fortunately, finding out which applications use up your CPU is relatively straightforward:
- First off, open your task manager. To do this for a Mac computer, go to Utilities and open the Activity Monitor app. For Windows, hold down Control+Shift and press Esc. For Chromebooks, hold down the search button and press Esc.
- A window listing all of your apps and background processes will pop up. There you'll find the amounts and percentages of CPU (and network bandwidth) they're using.
- From there, close the non-essential apps that consume the highest amounts of CPU.
Finally, to minimize interferences and distractions, such as messenger notifications during your call, enable the Do Not Disturb function on your computer. Alternatively, you can manually turn off notifications from apps like email, messengers, and Slack.
While planning out how to set up video conferencing in your home office, keep in mind that you need a plan B for every element of your setup. Have a backup option in case your network connection fails and there is no time to troubleshoot.
3. Optimize the Settings on Your Video Conferencing Software
Regardless of what app you're using, it’s recommended to do the following testing before your call:
Test Your Audio
Unless you are using an external microphone (more on that below), the default setting is usually fine, but be sure to test it anyway. You may have other software installed on your computer that competes with the default settings on your web-conference software and applies changes that you may not be aware of unless you check.
Test Your Video Camera
As with audio, your video settings should be checked. Some apps, like Skype or Zoom, offer helpful options to alter your background if you prefer—you won't see that in the default setting, so it is best to take your time and get familiar with all these features up front.
Make sure you can turn your video on and off easily (in case you need to leave the room for a moment or there are distractions you didn’t anticipate).
Prepare for Screen Sharing
When presenting a feature, document, or design, sharing your screen may be necessary to collaborate and communicate more effectively. Make sure you know exactly how to use the screen sharing feature before the actual call. Before you share your screen, make sure you don’t have any open programs or tabs that can be distracting or inappropriate to other participants.
4. Get Your Audio Set Up
Audio problems are ubiquitous on networked conversations, which is why an external mic is one of the most important pieces of home video conferencing equipment you can invest in. You don’t have to spend a lot on a dedicated external microphone: even a relatively cheap one will still provide better quality than your laptop microphone. If you use an external mic, make sure you've set it up as your input source in your meeting software settings.
For the best audio quality, maintain the right distance from your microphone (about 5–6 inches away from your mouth is ideal) and position the microphone in the path of your voice projection.
It’s also worth keeping in mind that even the best microphones are prone to feedback loops, but you won't have that issue with a set of headphones since sound will feed through them instead of your speakers. That’s why it’s recommended to invest in a pair of headphones; paradoxically, they actually make it easier for others to hear you clearly!
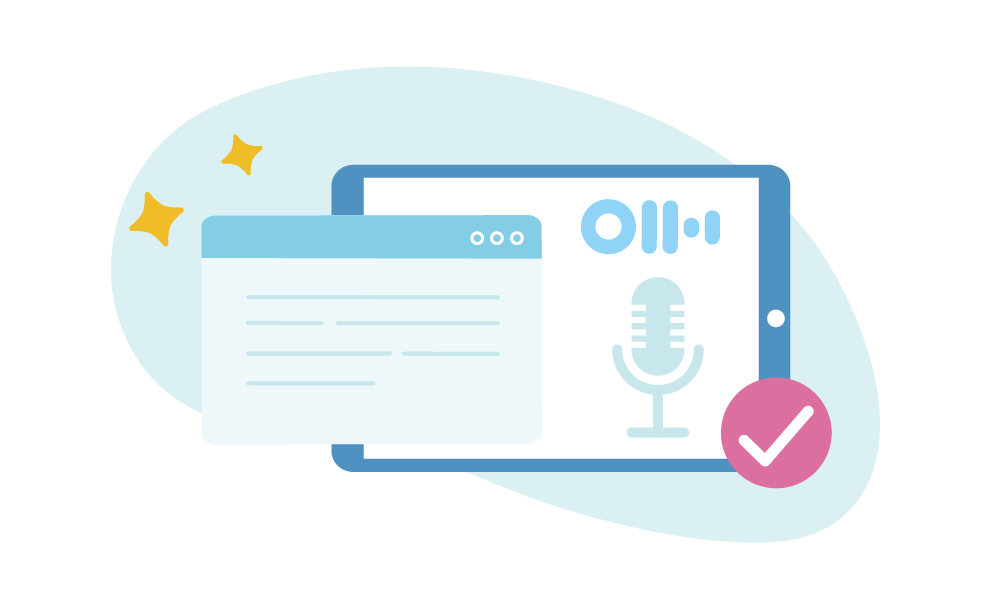
5. Keep Notes Effortlessly With Otter.ai
In order to have an efficient and focused discussion, let Otter do the note-taking for you. Keep accurate track of issues raised and decisions made, but be fully present during the conversation instead of frantically taking notes. After the meeting, you can:
- send the participants a full transcript of the conference call;
- generate a summary of issues discussed, decisions made, and tasks assigned using the structured, searchable transcript of the meeting;
- create (and share with other participants) advanced rich meeting notes with summary keywords, highlights, photos, and full audio transcripts.
In other words, having rich, searchable notes automatically created for you not only saves you time and energy during the call – it also helps you process and organize your notes after the call and turn them into shareable documents for use and further collaboration.
Additionally, because Otter is an AI-powered tool, it’s always learning. Specifically, Otter can learn to recognize individual voices and special terminology. As you use the tool it will continuously improve and help you collaborate even smarter!
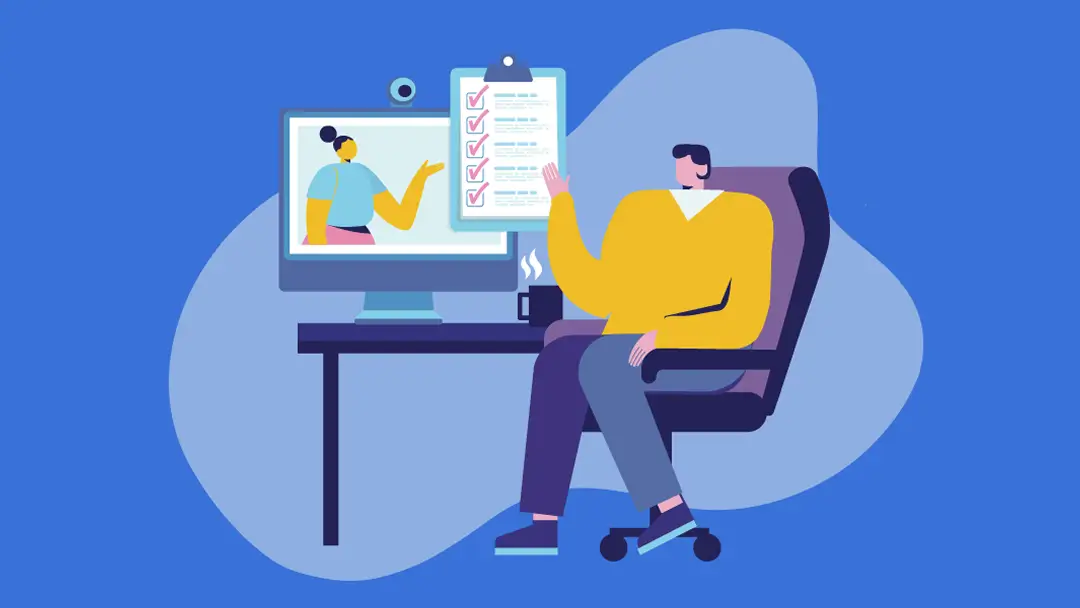
6. Get Ready for Your Close-Up
Just as you look professional in a face-to-face meeting, so should you for a home video conference. It doesn't stop at dressing or grooming—make sure you do the following:
Use a Quality Camera
A quality camera is another essential element of your home video conference setup. Many cameras built into our computers are neither high-res nor very flattering, especially if you're using a laptop where the angle is difficult to navigate. The wrong angle can be awkward, distracting, and look unprofessional.
Having said that, if you aren’t in a position to use an external camera, there are a couple of other options. If you’re using a laptop, you can use an adjustable laptop stand. If you don’t have a laptop stand, a pile of books may suffice. If you’ll be primarily using a phone or tablet, there are plenty of tablet stands available to customize your angle, but you can make your own as well (using a selfie stick).
Position the Camera Correctly
Positioning the camera on the monitor about two inches above eye level is a good rule of thumb, but every monitor is different, so make sure you test your camera setup before the call. Adjust the angle such that it’s eye level, so you’re looking straight ahead at the screen. Shrinking the video window to the top of the screen may also help keep you looking where you should be, getting you as close as possible to making actual eye contact.
Test Your Lighting
As a general rule, the larger the light source that illuminates you is, the more flattering it will look. If your setting has plenty of natural light, sit in front of a window slightly angled to the side. If natural light doesn't work, strategic lamp placement is adequate—just avoid overhead or incandescent lights if possible. The lamp light should be shining at you from behind the camera at a slight angle. Add another lamp to compensate for shadows if needed.
Don’t combine natural lighting with lamp-light. Inconsistent light sources aren’t only unflattering; they are also more difficult for the camera to adjust to. When using natural lighting, turn off any other light sources in the room. If you’re using lamp-light, eliminate natural light in the room with blackout curtains or a dark sheet.
Make Sure Your Background Is Appropriate for Video Chat
There are certain things you can include in your backdrop that may be a bit unprofessional or distracting. Simply, anything that wouldn't be appropriate for the office should be removed from the background of your home office setting, too. On the other hand, sitting in front of a blank wall may look too sterile, so strike a balance. A well-organized bookcase with some books and houseplants is a safe option, or even the kinds of pictures you'd have on your desk at work.
7. Perfect Your Video Conferencing Etiquette
Finally, below are some rules to keep in mind when practicing good video conferencing etiquette:
- Establish a quiet, distraction-free place in your home to conduct your video calls. There are mobile apps that support virtual conference calls anywhere or even on the go, but staying as close as possible to the focused environments of the conference rooms at work is best. If at all possible, arrange a sound-isolated workspace with a clutter-free background.
- Make sure you are prepared. Virtual meetings should be conducted with the same professionalism as a face-to-face meeting. Be prepared with an agenda, an objective, and your talking points. Make sure you don't lose momentum after a meeting—send a follow-up email that ensures things don't fall through the cracks. It's best to follow up within 24 hours of a meeting.
- Get the camera angle right. Because people tend to look at their screen and not directly into the camera, it is impossible to maintain direct eye contact with others. However, if you adjust the angle carefully when setting up your camera so that you are able to look closer to it, you will come as close as possible to a face-to-face conversation, giving others the feeling that you are actively listening and engaging in the conversation.
- On a related note, pay attention to whoever has the floor in online meetings just as you would if you were meeting in person. Remember, everyone can see your face (and where it's looking) at all times.
It’s also important to avoid these common video conferencing mistakes:
- Multitasking. Even if the video conference is running smoothly, you don’t appear as engaged in the video conversation as you would during a face-to-face meeting. Don’t make matters worse by glancing at your messengers or replying to an email.
- Not muting yourself when others are speaking. Every sound in your background can be picked up and amplified, interfering with the speaker and distracting others. Always mute yourself when joining a call and when you aren't speaking to avoid adding unwanted noise to the conversation.
- Speaking over others. Without visual cues, the nuances of conversation can be a challenge. It's better to pause for a little too long before speaking after your team members than trying to keep pace and talking over them.
We hope these video conferencing tips have helped set you up for a successful video conferencing call at home (or anywhere). The next time you assemble your remote team members or conduct a video interview at home, you’ll know exactly how to do video conferencing the smart way.

Related posts


.png)


